The Main ErgoDox 
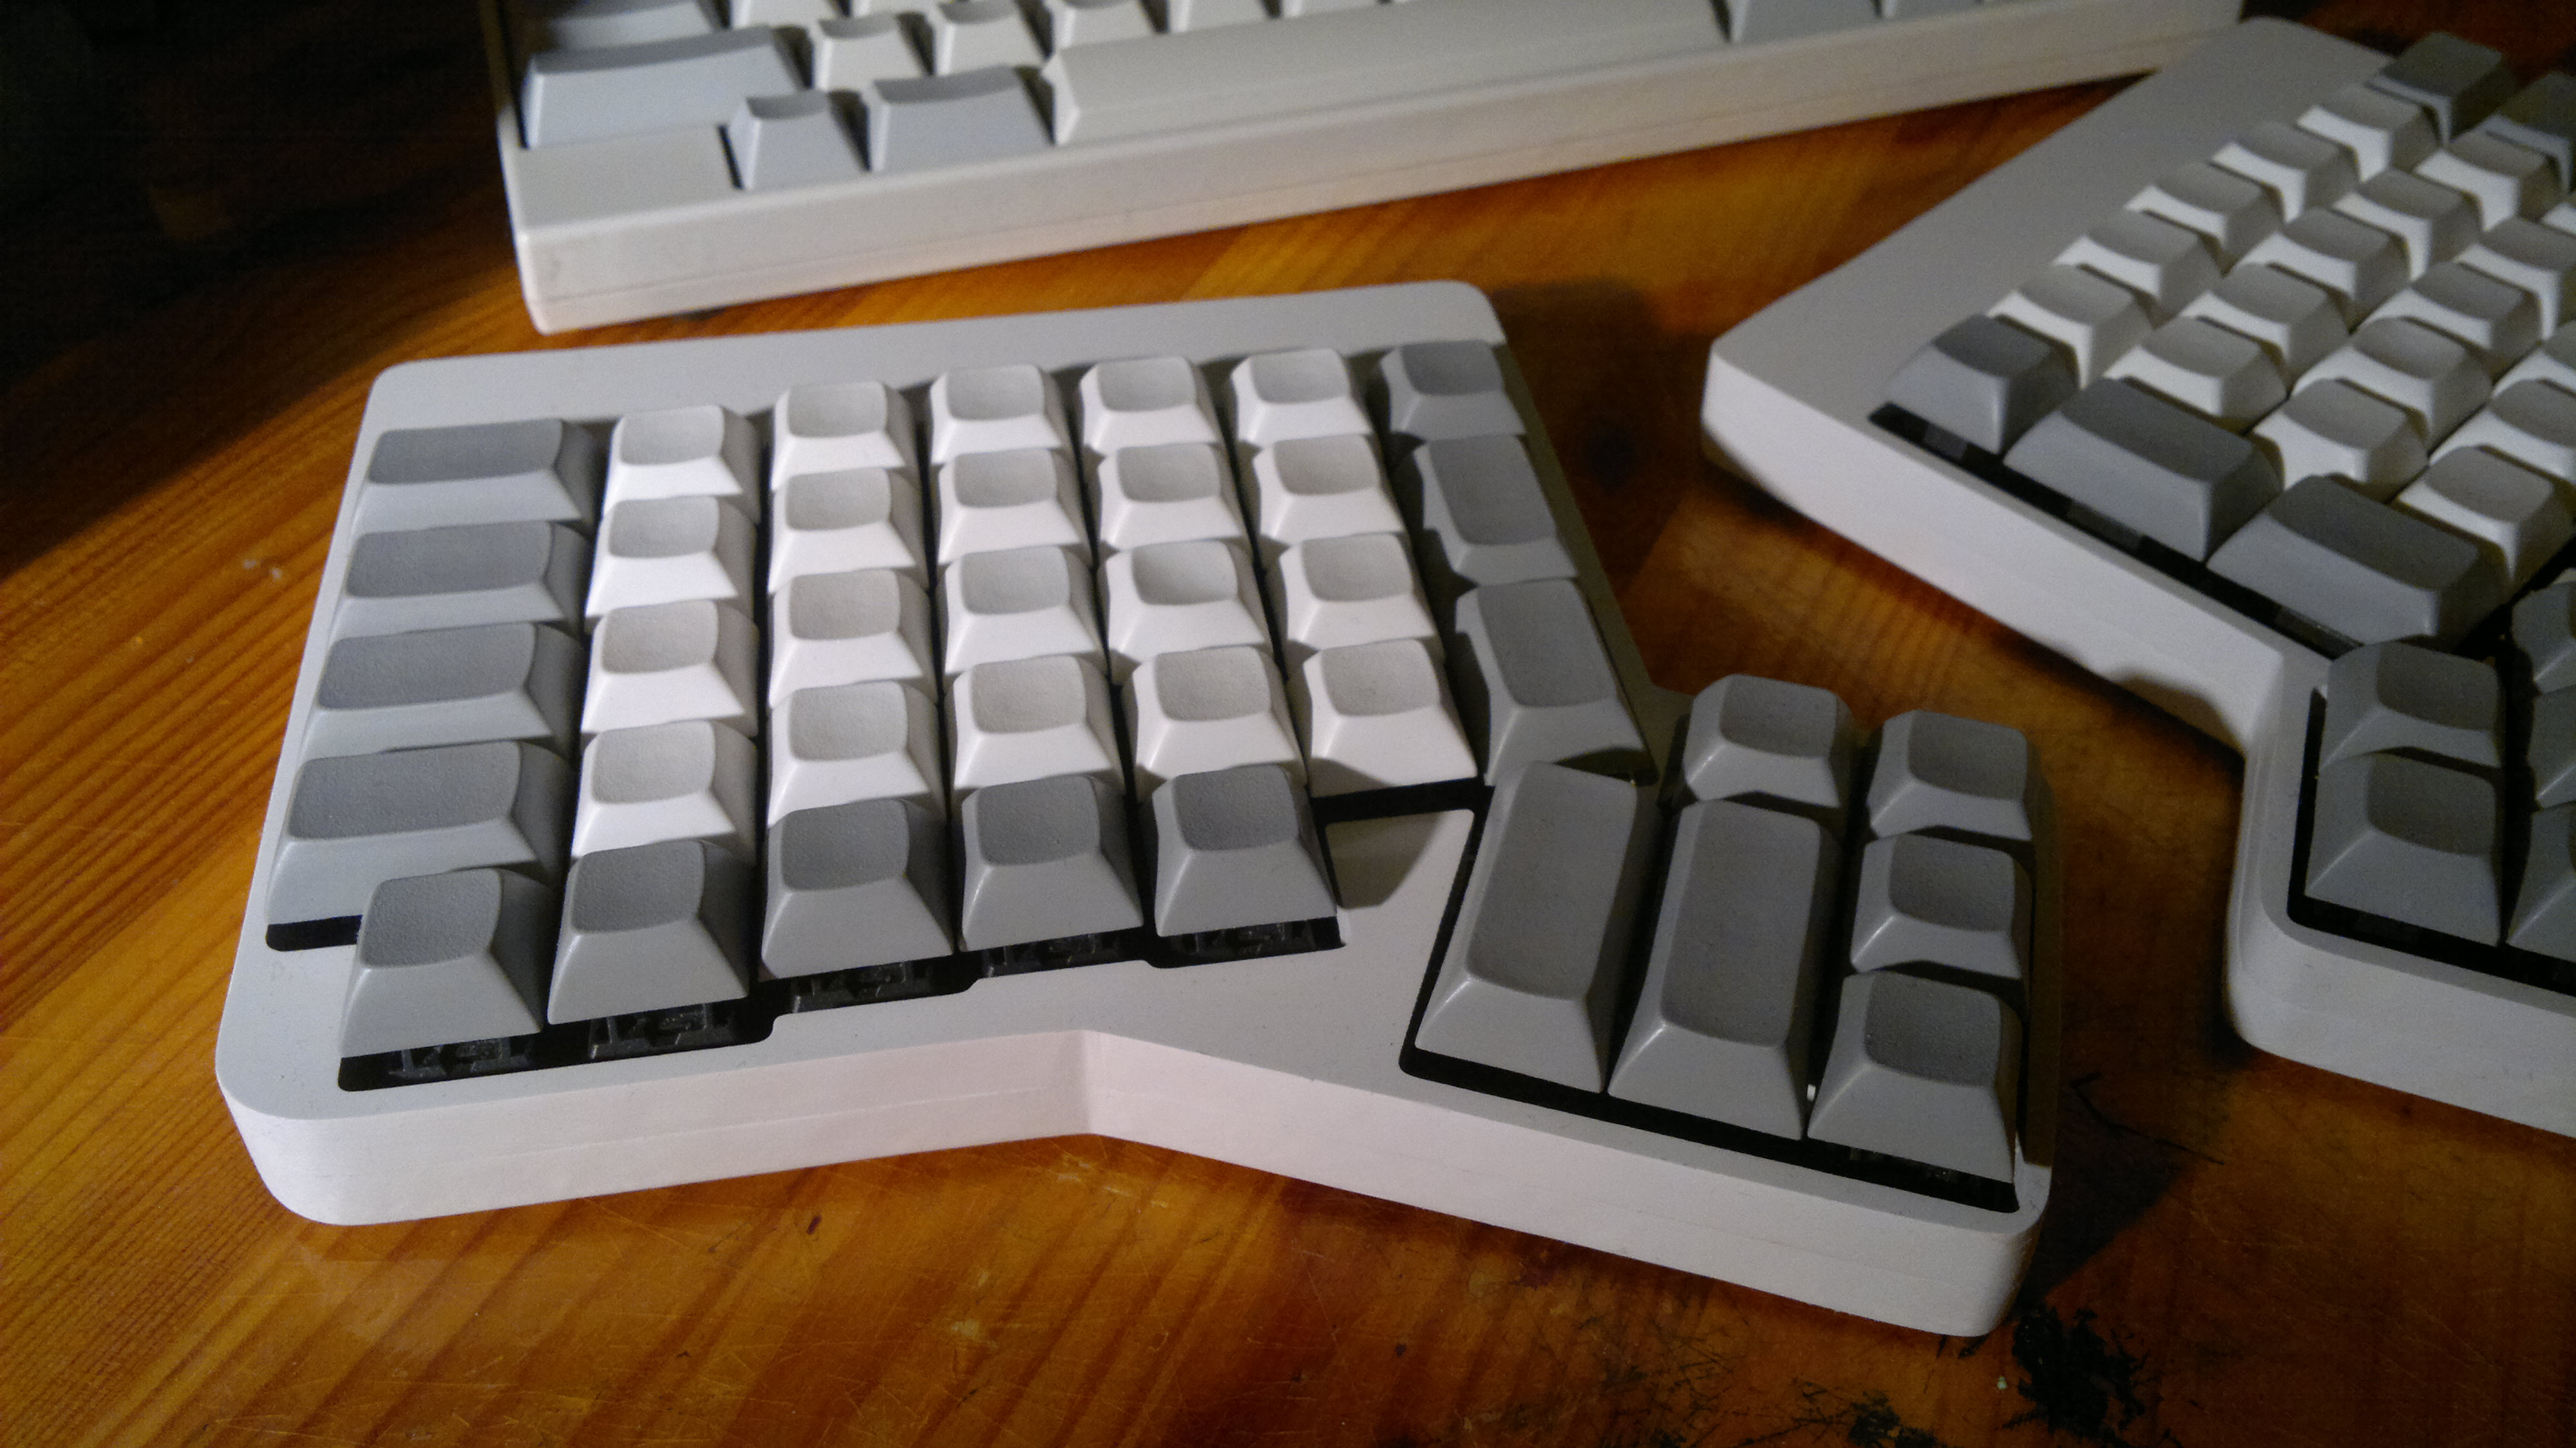
The ErgoDox is one of my favourite keyboards. It was also the first that I built myself. It is both advantageous because of its layout but also because of its easily customisable nature.

The Parts

I purchased all the parts through falbatech . I found Falbatech to be a great company that was helpful when I contacted them for help over the forums. Another good thing about the ErgoDox is the amount of support available. If you have a problem, it is very easy to contact others who have built them themselves. FalbaTech are really the only place you can buy the parts pre-built and even at a reasonable price. I was eager to get into mechanical keyboards but really wanted to get something impressive. For myself I really enjoyed the idea of an ErgoDox. At the time this was the cheapest way to get hold of an ErgoDox that wasn’t the massdrop (which started after I bought it). This has however just recently changed due to a new indiegogo that is producing ErgoDoxs. I chose to get the signature plastics DSA keycaps because I really wanted a complete set. I knew it was possible to create a set from various keysets but I just wanted a complete set that fitted.

The Switches

As this was my fist mechanical keyboard I chose to make it with Cherry Clear switches. I thought of these as a good starting point as I was coming from using a IBM Model M. I chose them on the basis that they are both fairly stiff and tactile. In hindsight I feel that it was a good decision. They quite perfectly capture the very elements that make mechanical switches great. You can feel them and you can hear them. Even though they aren’t clicky, they certainly have a clack to them. This is an oversimplification of mechanical switches, but it will do.

The Keycaps

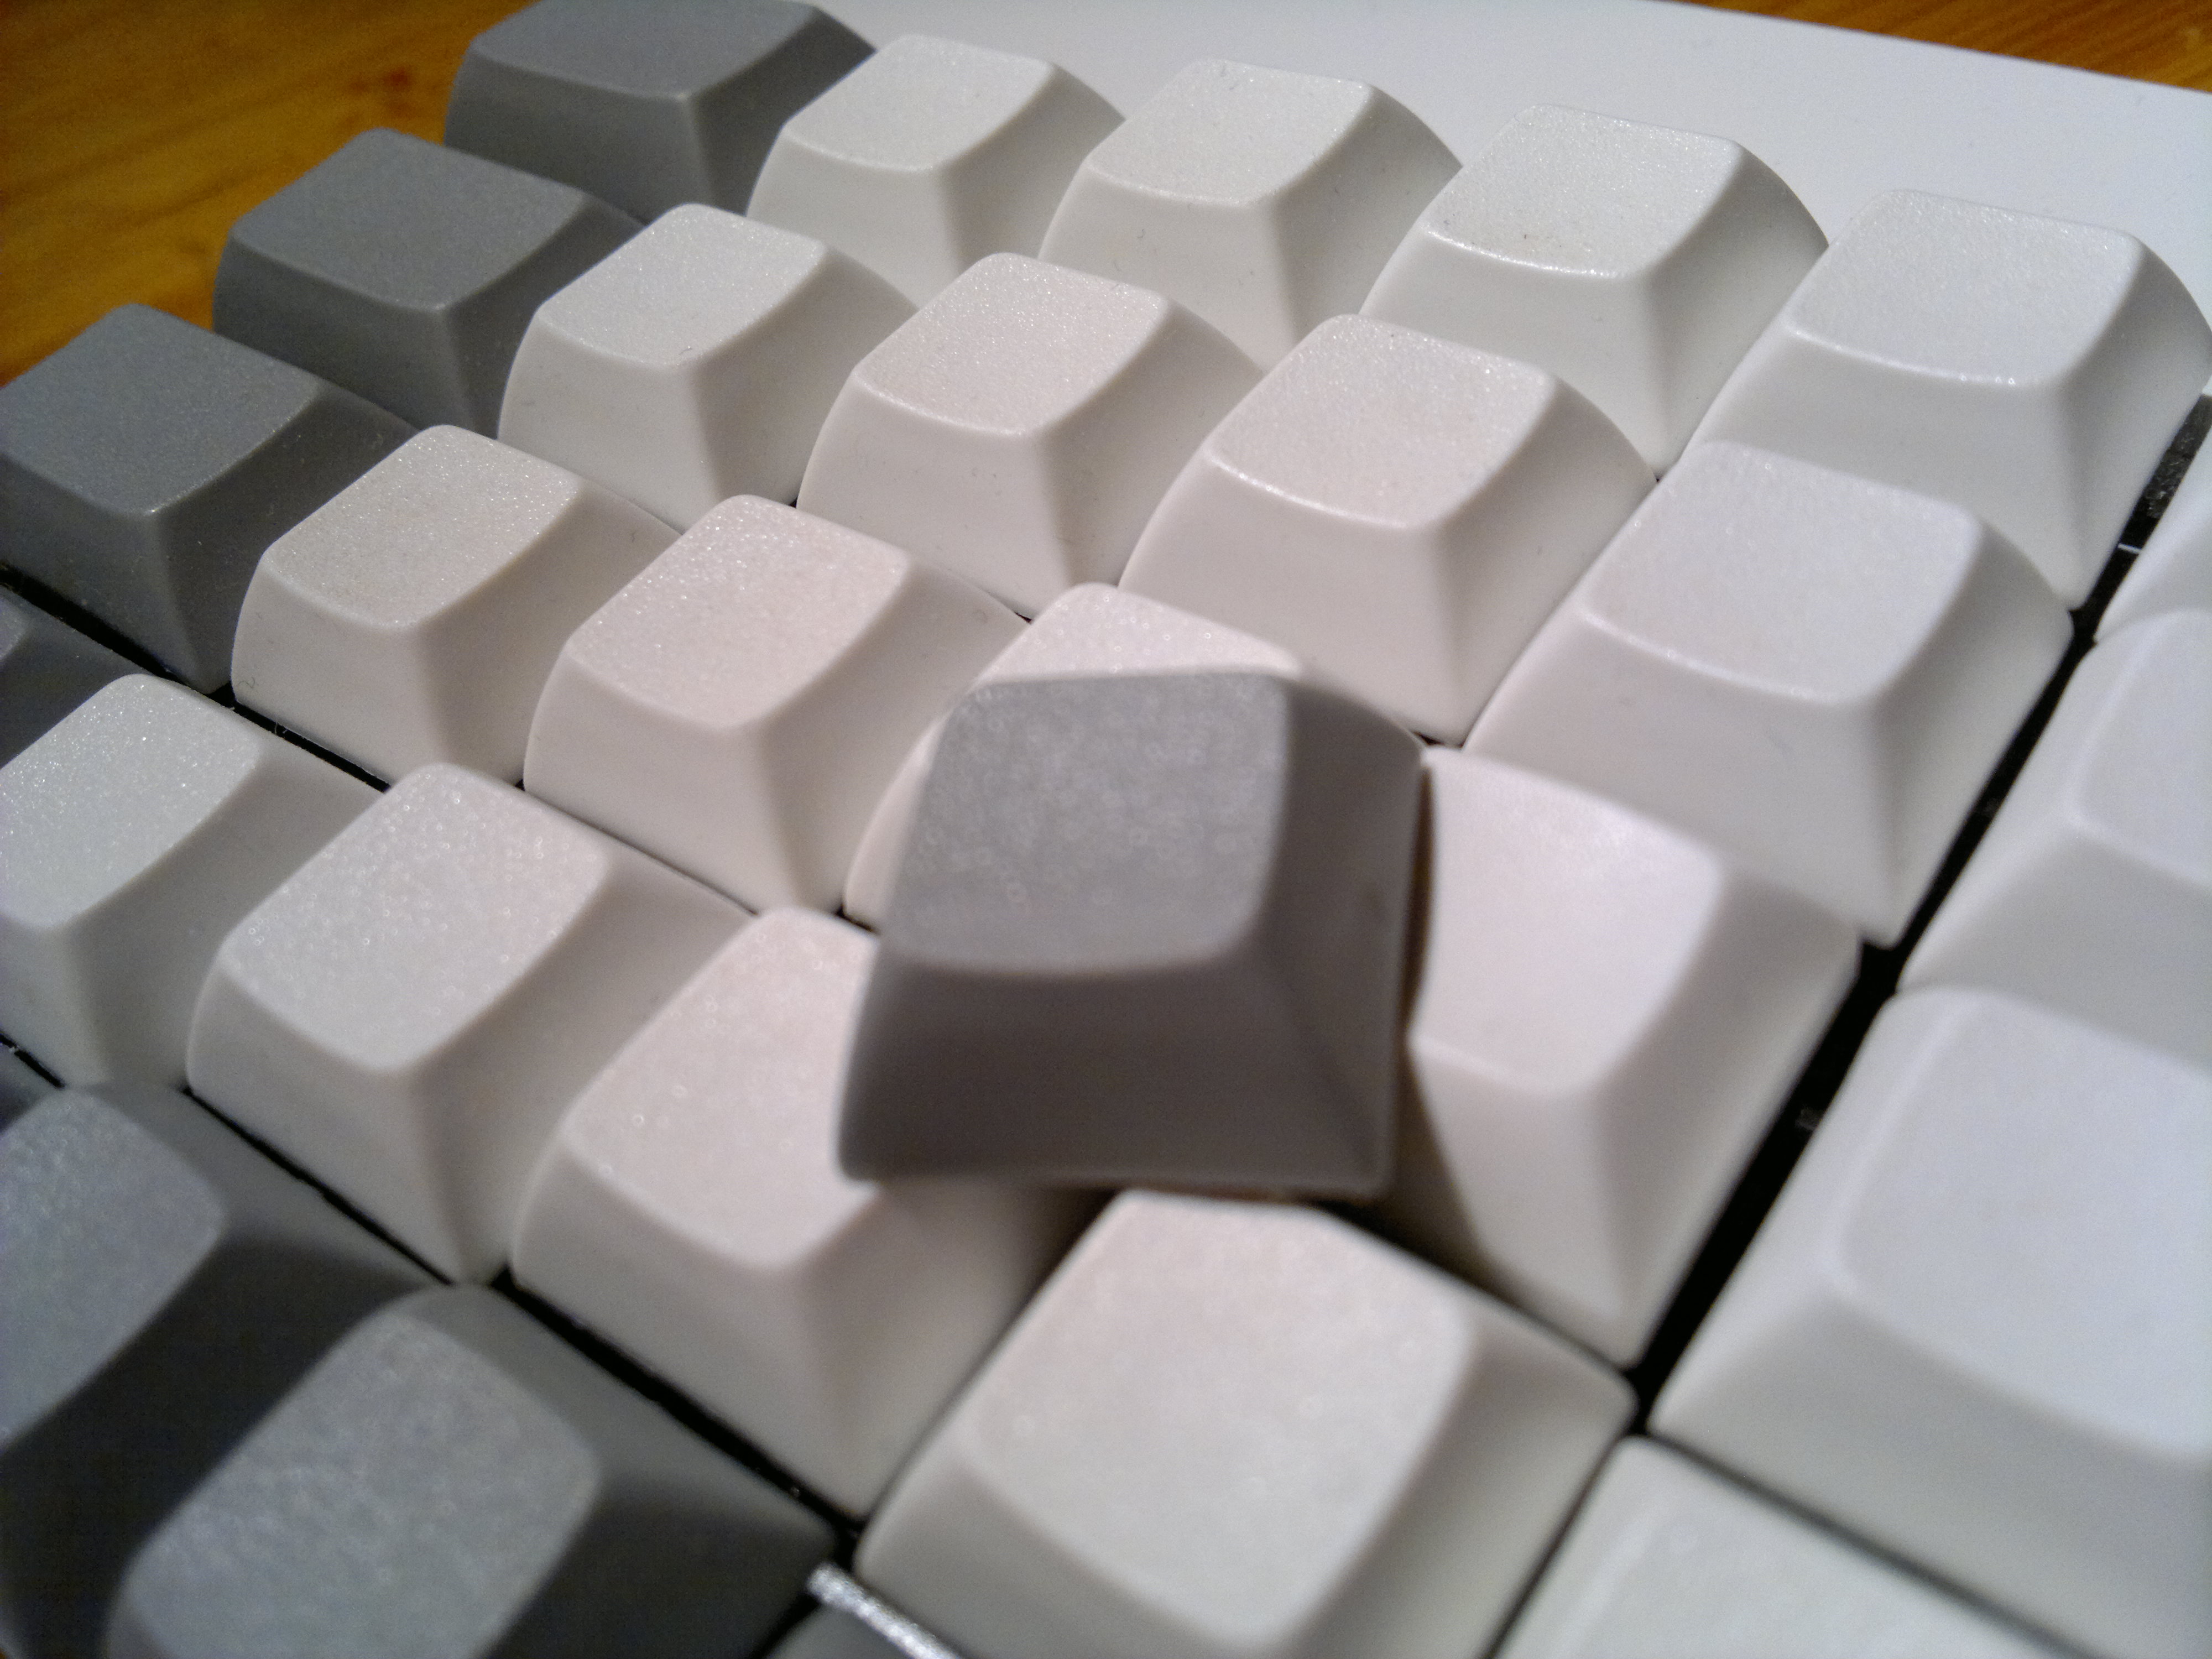
The keycaps I choose were signature plastics DSA. I chose the grey and white colour scheme because I was coming from an IBM Model M and really liked the pearl and pebble colours. This was the closest I could get. Thinking back I would have liked to do a bolder colour combination, maybe something more exciting. I think my colour choice is a little generic, but I am by no means unhappy with it. It is hard to get the aesthetics of a keyboard right and this was my first try.

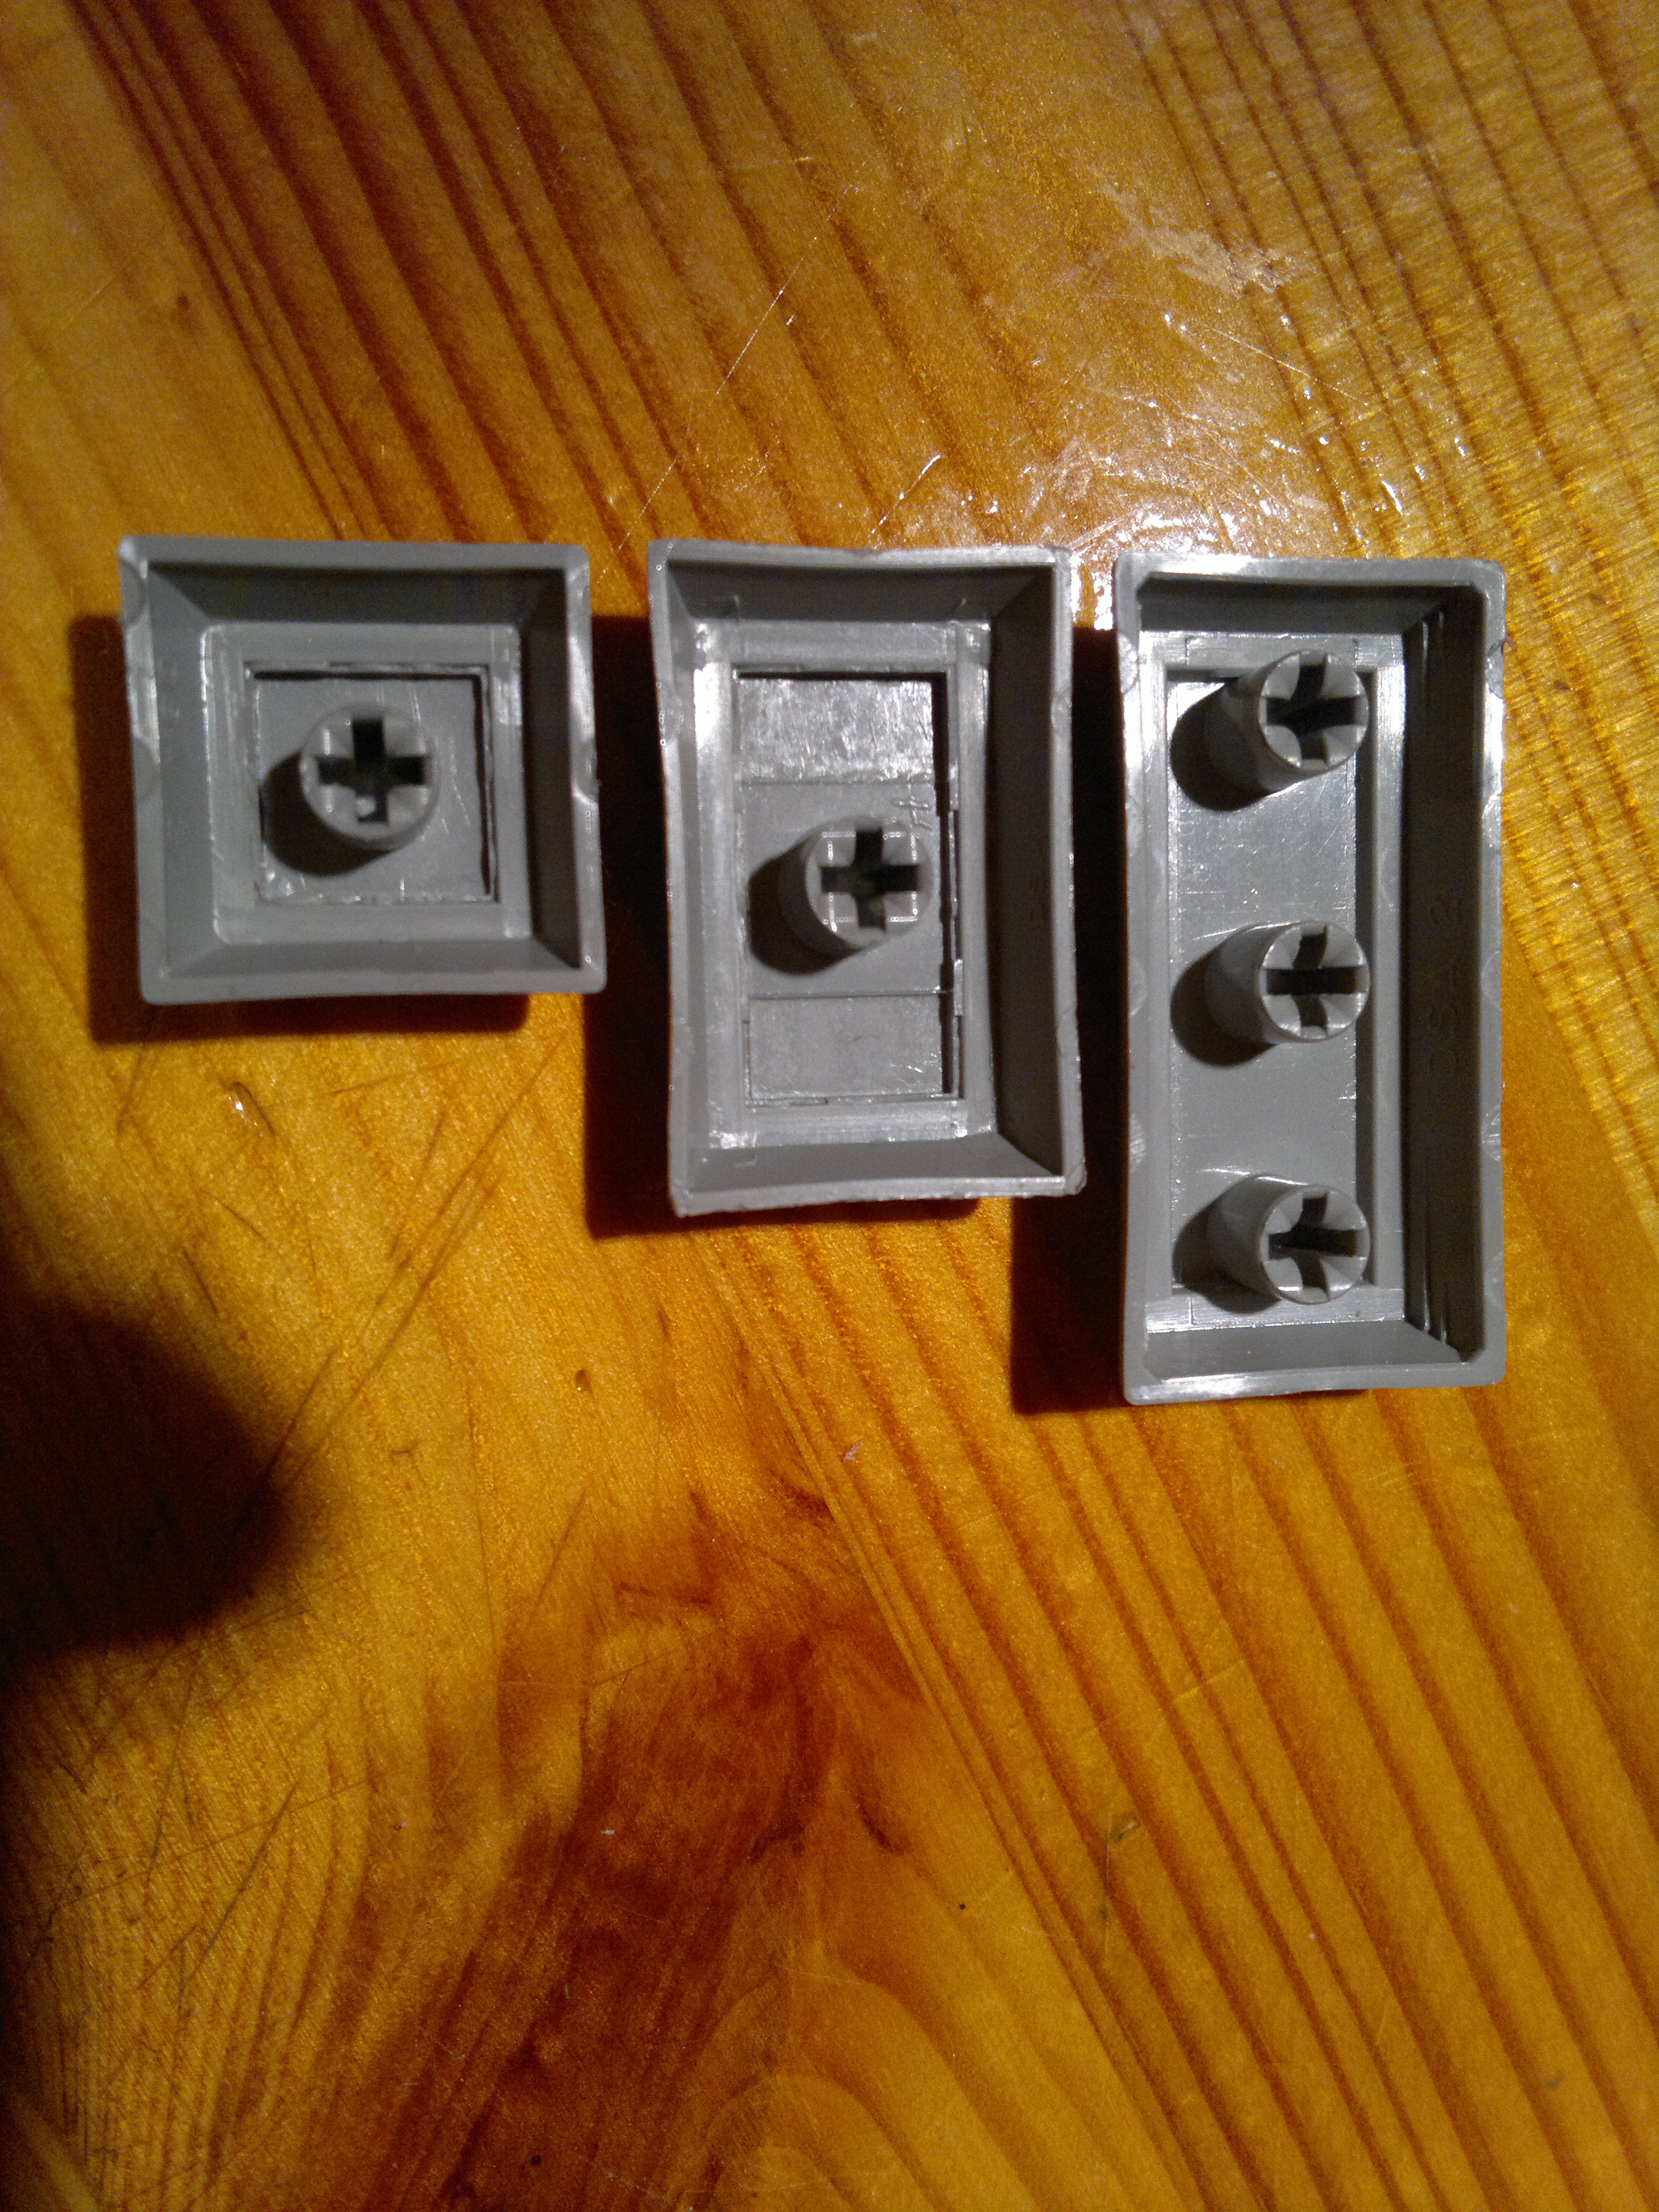
This was also my first set of DSA. I was quite worried about this as It seemed very strange to have flat keys. After typing on them for a couple of days I could not really find and drawbacks to the flat profile. But this may also be due to other factors. This was the first keyboard I had chosen to build and with it I was going to learn to touch type properly. When using blank keycaps, it is necessary. So you could say that this was the first keyboard I properly typed on and therefore the first keycaps I typed upon were DSA profile. My typing skill was brought up on DSA so I can vouch for their feel. Going into this I knew there were a couple of factors that would affect the feel of the keycaps:

  • Material (often dictates the texture)
  • Texture
  • Thickness
  • Profile

Coming from the two piece construction of the Model M keycaps It is not really easy to compare them in that way. As you can see the keycaps have some thickness to them but they are not the thickest. But I can say that they work well on Clear switches quite well. They give it enough weight and feeling to really complete the sound of the clack!

The Keycap thickness

The texture of the keycaps is exactly what I am looking for in a keycap. But trying to convey the feeling of a keycap is obviously quite a task. The keycaps feel like you are gripping them the right amount. It is a much nicer experience than typing on a shiny keycap. In some situations when typing on an old keyboard with shiny keycaps the feeling can be almost sticky. This is not the case with these. I believe this is what the Model M keycaps would have felt like new but since I haven’t used a new one this is only speculation. I can say that I have spent some time getting to know these keycaps as I when I began using the ErgoDox I typed in qwerty. On a good day I get around 60wpm. But I learnt colemak on an ErgoDox and reach speeds of 75 wpm.

Keycap Texture

Conclusion

At the beginning of my mechanical keyboard journey, I saw pictures of the ErgoDox and thought I would never type on one of them. At that time it seemed like the most foreign object and faraway goal. Nothing that I would have ever considered. It was the epitome of the mechanical keyboard. But at this time I was not looking for this. Nevertheless, the idea of the ErgoDox was stuck in my mind. This was what really started my interest into mechanical keyboards. Because it was a keyboard that required manual assembly it really gave me an in depth look at how I could create and build my own in the future. Building the ErgoDox was an educational experience which made the hobby more than owning keyboards. The fact that I had to assemble it myself was probably one of the main things that drew me to the keyboard and I’m really glad that it did.

It also taught me how to type in a better way. By this I mean a traditional touch typing method. It really pushed me in two ways. The blank keycaps obviously had an impact on how I could type but the new layout also pushed me into learning where all the keys are. I was a little apprehensive about the profile at the beginning but quickly grew accustomed to them. The only thing I would change is the colour.

Overall I have really enjoyed the whole experience of making and using an ErgoDox. It cemented my hobby whilst also teaching me how to type in a better way. It also introduced me into the more technical side like building firmware and choosing and learning the alternate layouts.

I really recommend anyone who is even just thinking about getting themselves an ErgoDox to do so.

It is likely that when you first build your ErgoDox you will be using the firmware created by Ben Blazak. Whilst this firmware works fine. The TMK firmware has some notable improvements.
Such as:

  • Macros
  • Media Keys
  • Oneshot Modifiers
  • Mouse Keys  

So if you feel like you want to take advantage over some of these features, then continue reading. The first thing you will have to do is make sure you have all the necessary tools installed to compile the firmware. I have split the guide into two parts: Linux and windows. Although they are quite similar instructions it can be daunting if you don’t know what to do. It is also important to note that the ErgoDox support is only implemented in a fork of Hasu’s firmware made by Cub-Uanic.

Linux

Prerequisites

The fist step is to install avr-gcc. For this example I am using Arch Linux. But for other linux distributions the process is very similar, just use the package manager that is used on your system.

To install avr-gcc on arch Linux

sudo pacman -S avr-gcc

You also need git installed to clone the repository.

sudo pacman -S git

I also recommend using the command line version of the teensy loader. I find it easier to use as you can clearly understand and see what you are doing. This program is not on the official repository so you can install it from the AUR. An easy way to do this is through an aur helper (like in my example) or you can use makepkg.

yaourt teensy-loader-cli

This should be all you need to compile the firmware. So now you need to clone the git repository. Open a terminal and open the location you want to clone the repository to. This will just download the files and put them where you specify.

git clone https://github.com/cub-uanic/tmk_keyboard.git

Now you are ready to start building your firmware. For this part I will just show you how to build and flash the firmware. I will not get into the customization of the layout just yet. Once you are able to build the firmware, then you will find it much easier to edit the layout.

Building

  • Once you have finished cloning the repository open a terminal and cd into the tmk_firmware folder.
  • Then you have to cd into the ergodox folder.

      cd keyboard/ergodox
    
  • The next step is onto building the actual firmware.

      sudo make -f Makefile.lufa clean It is good practice to get into using the `clean` the first time you build to ensure there is no left over files that will be used.
    
  • You will then need to run

      sudo make -f Makefile.lufa However it is important to note that Hasu recommends using the lufa stack instead of the pjrc. This is because of a [bug](https://github.com/tmk/tmk_keyboard/issues/58) which affects the keyboard working after boot. This is why the lufa stack has been used in the tutorial. You may use pjrc if you wish. Just replace instances of `pjrc` with `lufa`.
    
  • You will find your firmware built in your current directory. The file you want is ergodox_lufa.hex
    If you have chosen to use sudo make -f Makefile.pjrc in the previous step you must use the correct file for the next step. Instead of ergodox_lufa.hex it is ergodox_pjrc.hex.

  • Now you need to flash the flash file you have just generated onto your teensy. Run this command before following next step.

      teensy-loader-cli -mmcu=atmega32u4 -w -v ergodox_pjrc.hex
    
  • Once you have run the previous command then all you have to do is press the button on your teensy. You should see a short progress bar and you are done!

  • Once you get to customizing your firmware you will be able to create a software button that will act as the teensy button. This means you will not have to press the actual button on your teensy and therefore you do not need access to it. This is helpful as you can put your case back on and not worry about having to take it off all the time when you want to change the layout.

Windows

I have to admit coming from linux I found compiling on windows a much harder task than I thought it would be. This was just due to my inexperience in using windows in such a way. I believe now that I can complete the task of building the tmk firmware.

Although it is very similar to building on linux, windows does not come with the necessary tools to build the firmware out of the box.

Prerequisites

  • First I recommend to installing git so you can easily clone the repository. This is easy to do on windows just go to this link: https://git-scm.com/downloads and download the windows installer. This should be an easy process as all you have to do is follow the installer.

  • The next step is to you then need to change to the directory where you want to clone the repository. For the purposes of this tutorial I recommend doing it somewhere like the Desktop, just to make things easier. To do this open “Git Bash”. Then in the bash prompt type:

      cd Desktop Because when you opened the bash command  prompt you are in your user directory you can easily to change to the Desktop directory (which is inside your user directory) with the above command.
    
  • Now clone the repository in the same command prompt with:

      git clone https://github.com/cub-uanic/tmk_keyboard.git Once it has completed cloning the repository, you will be able to see the folder on the desktop containing the firmware source. 
    
  • The next step is to install cywgin follow the link and download the installer.

  • Finally download the pjrc firmware flasher, this is available from here. It does not require installation just put the .exe where you can find it.

Building

  • The next step is where I first got stuck. By default, when you open the cywgin shell it puts you in C:\cygwin64\home\"yourusername" and you have nothing in that directory. From here you want to change directory to the tmk firmware folder you cloned on your desktop. To do this use:

      cd c:/Users/"yourusername"/Desktop/tmk_keyboard/keyboard/ergodox As you can see this has taken you quite the way. Your current working directory is now the ergodox folder inside of the tmk firmware repository you cloned earlier.
    
  • The next step is to do the initial build using:

      make -f Makefile.lufa clean Just like in Linux it is good practice to get into using the `clean` the first time you build to ensure there is no left over files that will be used.
    
  • Then run:

      make -f Makefile.lufa All that is left now is to flash the firmware to your teensy. You will find the file in the ergodox directory you are currently in. It should be named `ergodox_lufa.hex`.
    
  • Run the teensy loader application you downloaded earlier. For this step your ErgoDox needs to be connected to your PC. Press the teensy button on the controller as instructed by the program.
    Here there are two ways you can program the file:

    1. Drag the .hex file onto the flashing program
    2. Inside of the flashing program, click file then “Open HEX File”. Then you should be able to browse to the file you have just built.

You are now done. You should now start to experiment with your keyboard layout via editing the keymap.c file. This is where it really gets exciting.